
Introduction
Arc floor lamps have become a staple in modern interior design, adding both elegance and functionality to living spaces. With their distinctive curved arm extending gracefully over furniture, these statement pieces provide directed lighting while creating visual interest in any room. However, even the most design-savvy homeowners can encounter challenges when assembling these sophisticated lighting fixtures.
Arc lamps typically consist of several key components – a weighted base, pole sections, the signature curved arm, shade attachments, and various electrical components. While the end result is stunning, the assembly process can sometimes lead to frustration when parts don’t align properly or the lamp doesn’t function as expected.
Whether you’re dealing with a wobbling base, misaligned shade, or electrical issues, this comprehensive troubleshooting guide will help you overcome common arc lamp assembly problems. Understanding the perfect arc floor lamp guide can significantly reduce assembly headaches from the start.
In this guide, we’ll walk through:
– Essential preparation steps before troubleshooting
– Solutions for common electrical and structural issues
– Techniques for resolving fit and adjustment problems
– When to seek professional assistance
Our goal is simple: to help you successfully assemble your arc lamp and enjoy its beautiful illumination without unnecessary stress. Let’s begin by exploring how choosing the perfect arc floor lamp impacts assembly complexity and potential troubleshooting needs.
Essential Pre-Troubleshooting Steps
Before diving into specific problems, proper preparation will save you time and frustration during the troubleshooting process.
Review your owner’s manual thoroughly: Before attempting any troubleshooting, carefully read through the assembly instructions that came with your lamp. Manufacturers design specific assembly sequences for their products, and skipping steps or assembling components out of order can create problems.
Gather necessary tools: Most arc lamps require basic tools like Phillips and flathead screwdrivers, an adjustable wrench, and possibly pliers. Having a flashlight handy can also help you see into tight spaces when checking connections.
Ensure safety first: Always unplug the lamp before troubleshooting. Work in a dry environment and handle glass components with care. Electrical components should never be modified unless you have proper expertise.
Check all parts and hardware: Empty all packaging and verify you have all components listed in the manual. Missing parts are a common cause of assembly difficulties. Organize small hardware items like screws and nuts in separate containers to prevent loss.
Create a suitable workspace: Clear a clean, well-lit area large enough to lay out all components. A soft surface like a carpet or blanket can protect the lamp’s finish during assembly.
Document the process: Consider taking photos during disassembly or reassembly to help remember the correct placement of parts, especially if you need to contact customer support.
Following these preparatory steps establishes a solid foundation for effective troubleshooting. The step-by-step guide to assembling an arc floor lamp provides additional details that complement these preparation techniques and can help prevent common issues from arising.
Common Assembly Problems & Solutions
I. Lamp Won’t Turn On After Assembly
One of the most frustrating issues is completing assembly only to find your lamp won’t illuminate. Here are the most common causes and their solutions:
No Power to the Outlet
* Test the outlet by plugging in another device you know works.
* Check if the outlet is controlled by a wall switch that may be turned off.
* Inspect your home’s circuit breaker to ensure it hasn’t tripped.
* Try plugging the lamp into a different outlet to rule out power supply issues.
Improper Bulb Installation
* Verify the bulb is fully seated and properly threaded into the socket.
* Ensure you’re using the correct bulb type and wattage as specified in the manual.
* Gently twist the bulb to ensure good contact with the socket.
* Check for any protective packaging that may still be attached to the bulb base.
Loose or Improper Electrical Connections
* Examine all connection points along the lamp’s electrical path.
* Look for loose wire nuts or disconnected wires inside the shade assembly.
* Make sure polarized plugs (with one prong wider than the other) are inserted correctly.
* Check that any in-line switches or dimmer connections are secure.
Faulty Switch
* Test the switch by listening for an audible click when operating.
* Some arc lamps have foot switches or touch sensors that may have become disconnected during assembly.
* For dimmable models, ensure the dimmer is turned up high enough to produce visible light.
Damaged Cord or Internal Wiring
* Visually inspect the entire cord for pinches, cuts, or exposed wires.
* Check where the cord enters the lamp base and pole for signs of damage.
* Look for any bent prongs on the plug.
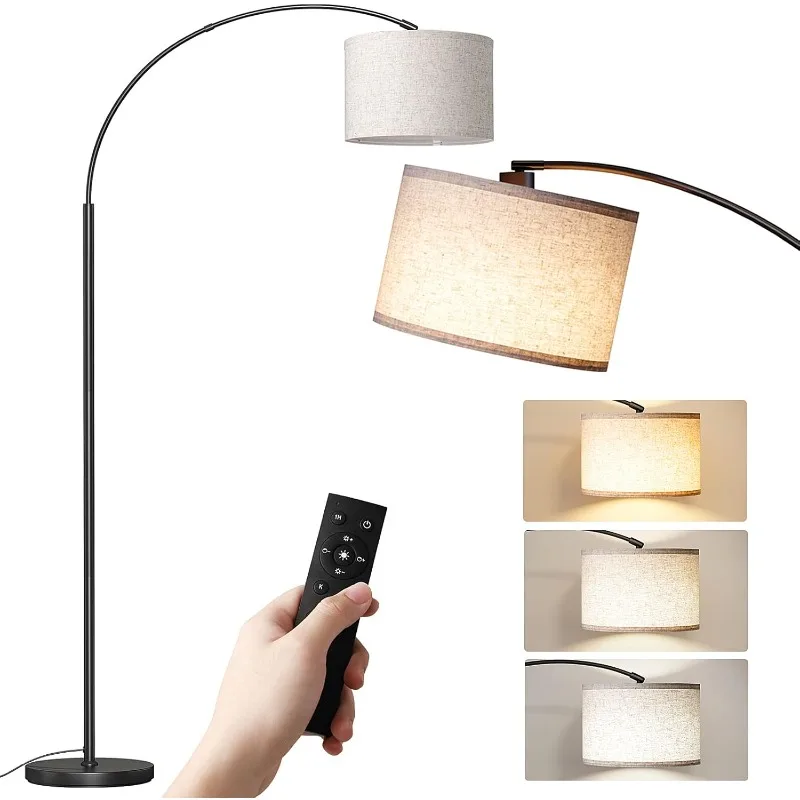
Modern dimmable arc floor lamps often have more complex wiring systems that require special attention during assembly, so be particularly careful when troubleshooting these models.
II. Structural Stability Issues: Fixing Wobbling and Leaning
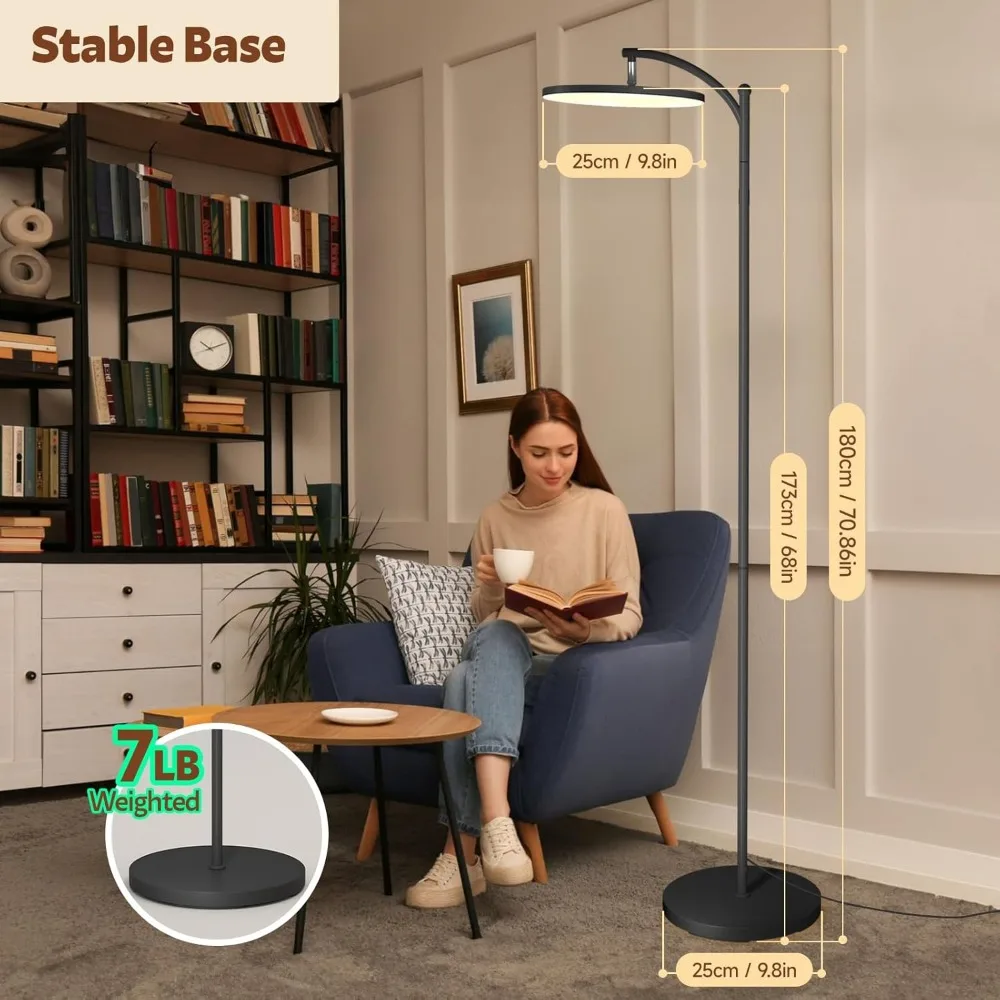
Arc lamps rely on proper balance and structural integrity to remain stable. Their unique design, with the light positioned away from the base, makes stability particularly important.
Loose Connections
* Systematically check and tighten all connecting points, working from the base upward.
* Pay special attention to joints where different sections meet.
* Avoid overtightening, which can strip threads or damage components.
* For threaded connections, ensure they’re properly aligned before tightening to prevent cross-threading.
Base Assembly Issues
* Verify the base is assembled in the correct orientation according to the manual.
* Ensure any weighted elements are properly positioned within the base.
* Check that the pole connects securely to the base without wobbling.
* Make sure all base plates or covers are firmly attached.
Floor Surface Problems
* Place the lamp on a level surface; uneven flooring is a common cause of wobbling.
* For carpeted areas, consider using a small, firm base (like a wooden board) under the lamp.
* On hard surfaces, felt pads or rubber feet can prevent sliding and protect flooring.
* Minor leveling issues can be addressed with small furniture levelers or non-permanent shims.
Stripped Hardware
* Inspect screws and bolts for stripped threads.
* Replace damaged hardware with matching size and thread pattern.
* For slightly stripped holes, a wood toothpick inserted alongside the screw can provide additional grip.
* Thread repair kits can help restore function to damaged threaded connections.
Arc Arm Alignment
* Ensure the arc is centered and aligned according to the design.
* Check that weight distribution along the arc is balanced as intended.
* Verify that any adjustment mechanisms on the arc are properly secured.
Understanding different arc lamp base types can help you identify specific stability requirements for your model. For optimal stability, marble base arc floor lamps offer exceptional balance due to their substantial weight distribution.
III. Parts Not Fitting or Difficult Assembly
When components don’t align or connect properly, assembly can quickly become challenging. Here’s how to address common fit issues:
Cross-Threaded Components
1. If a threaded connection feels unusually tight or misaligned, stop immediately.
2. Back out the component completely and examine both threaded parts.
3. Realign carefully and start threading again, turning counterclockwise initially until you feel a slight drop, then switch to clockwise.
4. Thread by hand before using tools to prevent damage.
Cord Management Problems
* Ensure the cord is properly threaded through all designated channels before final assembly.
* Check that the cord isn’t pinched or kinked at any point.
* Some arc lamps require specific cord routing through hollow pole sections—follow manual diagrams carefully.
* Avoid excessive tension on the cord during assembly.
Missing or Damaged Hardware
* Create an inventory of all hardware before starting assembly.
* For missing standard parts (like screws or nuts), hardware stores often carry suitable replacements.
* For specialized components, contact the manufacturer for replacements rather than substituting.
* Keep original packaging and parts list for reference when sourcing replacements.
Misaligned Components
* Loosen all connections slightly before realigning and retightening systematically.
* Check for any debris or packaging material preventing proper fit.
* Verify you’re following the correct assembly sequence—sometimes components must be connected in a specific order.
Proper arc lamp cable management tips can prevent many common assembly problems related to cord positioning and tension.
IV. Adjusting Arc Position and Height Issues
Many arc lamps offer adjustable features that may present unique challenges during setup.
Height Adjustment Problems
* Identify the specific adjustment mechanism on your lamp (set screws, telescoping sections, etc.).
* Loosen any locking mechanisms completely before attempting height adjustments.
* Move adjustable parts gradually, keeping alignment consistent.
* Apply gentle pressure while adjusting to prevent binding.
Arc Position Limitations
* Understand the intended range of motion for your specific model.
* Recognize that design constraints may limit adjustment possibilities.
* Forcing components beyond their design limits can cause permanent damage.
* Some adjustments may require temporarily loosening multiple connection points.
Adjustable Features
* Identify all adjustable components (swivel joints, tension knobs, counterweights).
* Adjust one element at a time while maintaining stability.
* For counterbalanced designs, make small adjustments and check balance with each change.
* Some joints may have hidden adjustment mechanisms—consult your manual.
Balancing Techniques
* Make adjustments with the lamp unplugged and shade removed if possible.
* Hold the base securely when adjusting upper components to prevent tipping.
* After adjustments, verify stability before returning the lamp to normal use.
For maximum positioning flexibility, adjustable arc floor lamps offer specialized mechanisms designed for easy customization.
V. Light Shade and Fixture Issues
The shade assembly is often the most visible part of your arc lamp and requires proper alignment for both aesthetics and functionality.
Uneven or Crooked Shade
* Check that the shade mounting hardware is correctly installed.
* Verify the shade ring or spider is level before attaching the shade.
* For paper or fabric shades, gently reshape if they’ve become deformed in packaging.
* Ensure any support rods are evenly distributed around the shade.
Loose Shade Fittings
* Identify your shade attachment type (harp and finial, spider fitter, clip-on, etc.).
* Tighten all connection points securely without overcompressing fabric or paper shades.
* Check that any shade adapters are correctly installed.
* Ensure the light bulb isn’t pushing against the shade, causing misalignment.
Light Fixture Orientation
* Verify socket position relative to the shade for optimal light distribution.
* Adjust the socket if it’s visibly tilted or misaligned.
* Check that multi-socket fixtures have consistent alignment across all bulbs.
* Ensure any decorative elements on the fixture are properly oriented.
Damaged Shade Components
* Inspect shade material for tears or deformations.
* Check metal support structures for bending or misalignment.
* Minor issues with fabric shades can sometimes be resolved with gentle steaming.
* For irreparably damaged shades, contact the manufacturer for replacement options.
The complexity increases with 3-light arc floor lamps, which require precise alignment of multiple shades for both visual balance and proper illumination.
VI. Post-Assembly Functionality Problems
Even after successful assembly, arc lamps may develop operational issues that require troubleshooting.
Flickering Light
* Check bulb connection first—make sure it’s fully seated in the socket.
* Inspect socket contacts for corrosion or damage.
* Try a new bulb to rule out bulb failure.
* Look for loose connections in the lamp’s wiring.
* Ensure the lamp isn’t positioned near air vents or drafty areas.
Dimming Issues
* Verify dimmer compatibility with your bulb type (especially important for LED bulbs).
* Check that the dimmer switch is functioning properly.
* Look for signs of overheating in the dimmer components.
* Ensure the dimmer is receiving full power.
Buzzing or Humming Noises
* Identify if the noise comes from the bulb, dimmer, or transformer.
* For bulb noise, try a different brand or type.
* Tighten any loose shade components that might vibrate.
* Dimmer switches sometimes create electromagnetic noise—you may need a higher-quality dimmer.
Switch Malfunctions
* Test for consistent operation through multiple on/off cycles.
* Listen for clear clicking sounds that indicate proper switch function.
* Check for debris around button or rotary switches.
* Look for signs of damage or wear on switch components.
Intermittent Operation
* Wiggle the cord gently while the lamp is on (safely) to check for loose connections.
* Inspect the entire electrical path for pinched wires.
* Try the lamp in different outlets to rule out power supply issues.
* Track patterns of failure to identify potential causes.
For reduced maintenance issues, consider LED arc floor lamps which typically offer longer service life and fewer replacement needs.


Adjustable Arc Floor Lamp, Bronze Arc Floor Lamp
Price range: $440.95 through $558.52 Select options This product has multiple variants. The options may be chosen on the product page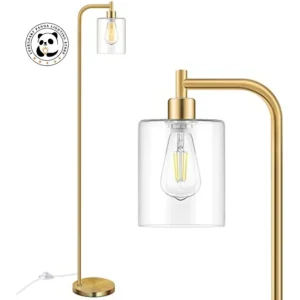

Brass Arc Floor Lamp, Contemporary Arc Floor Lamp, LED Arc Floor Lamp
Price range: $490.72 through $522.04 Select options This product has multiple variants. The options may be chosen on the product page

Chrome Arc Floor Lamp, LED Arc Floor Lamp
Price range: $304.95 through $1,210.40 Select options This product has multiple variants. The options may be chosen on the product page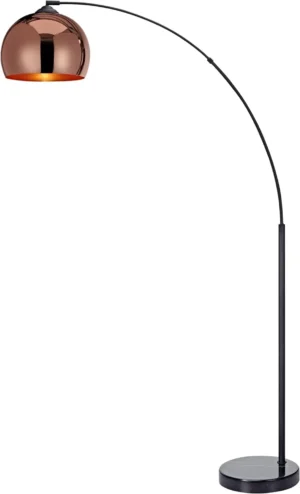

Contemporary Arc Floor Lamp, Large Arc Floor Lamp, Marble Base Arc Floor Lamp
$224.94 Select options This product has multiple variants. The options may be chosen on the product page
LED Arc Floor Lamp, Rattan Arc Floor Lamp
$313.58 Select options This product has multiple variants. The options may be chosen on the product page
 $1,003.85 Select options This product has multiple variants. The options may be chosen on the product page
When to Seek Professional Help
While many arc lamp assembly issues can be resolved with DIY troubleshooting, some situations warrant professional assistance.
Safety First: Know When to Stop
* If you notice burning smells, smoke, or sparks, stop immediately and unplug the lamp.
* Exposed wires, damaged plugs, or cracked electrical components require professional attention.
* Any moisture damage to electrical components should be evaluated by a professional.
* If troubleshooting requires disassembly beyond what’s covered in the manual, seek help.
When to Contact the Manufacturer
* For missing or damaged parts specific to your lamp model.
* If assembly instructions are unclear or appear to contain errors.
* When experiencing issues that might be covered under warranty.
* If you’ve followed all troubleshooting steps without resolution.
When to Call an Electrician
* For issues involving the internal wiring of the lamp.
* If the lamp trips circuit breakers or blows fuses repeatedly.
* When there are signs of electrical shorts or component failure.
* For complex rewiring or switch replacement.
When contacting customer support, be prepared with:
* Your lamp’s model name/number
* Purchase date and retailer information
* Specific description of the problem
* Photos or videos demonstrating the issue
* List of troubleshooting steps already attempted
Remember that attempting complex electrical repairs yourself can void warranties and create safety hazards. When in doubt, professional assistance is the safest option.
Preventive Maintenance Tips for Arc Lamps
Proper maintenance ensures your arc lamp continues functioning beautifully long after assembly.
Regular inspection: Monthly check all connections and tighten any loose hardware. Pay special attention to areas that bear weight or tension.
Proper cleaning: Dust lamp components regularly with a soft, dry cloth. For metal finishes, use appropriate cleaners recommended for that specific material (brass, chrome, etc.). Never spray cleaners directly onto electrical components.
Mindful movement: When repositioning your lamp, support both the base and arm to prevent stress on connection points. Never drag the base across the floor.
Bulb maintenance: Replace bulbs according to manufacturer recommendations. When changing bulbs, take the opportunity to inspect socket condition and gently clean accessible electrical connections.
Seasonal checks: Temperature and humidity changes can affect lamp components. Seasonal transitions are good times to perform thorough inspections.
Understanding what to look for in an arc floor lamp helps you recognize quality components that require less maintenance and troubleshooting over time.
Arc Lamp Design Variations and Their Unique Assembly Challenges
Different arc lamp designs present specific assembly considerations worth understanding.
Classic Arched Designs
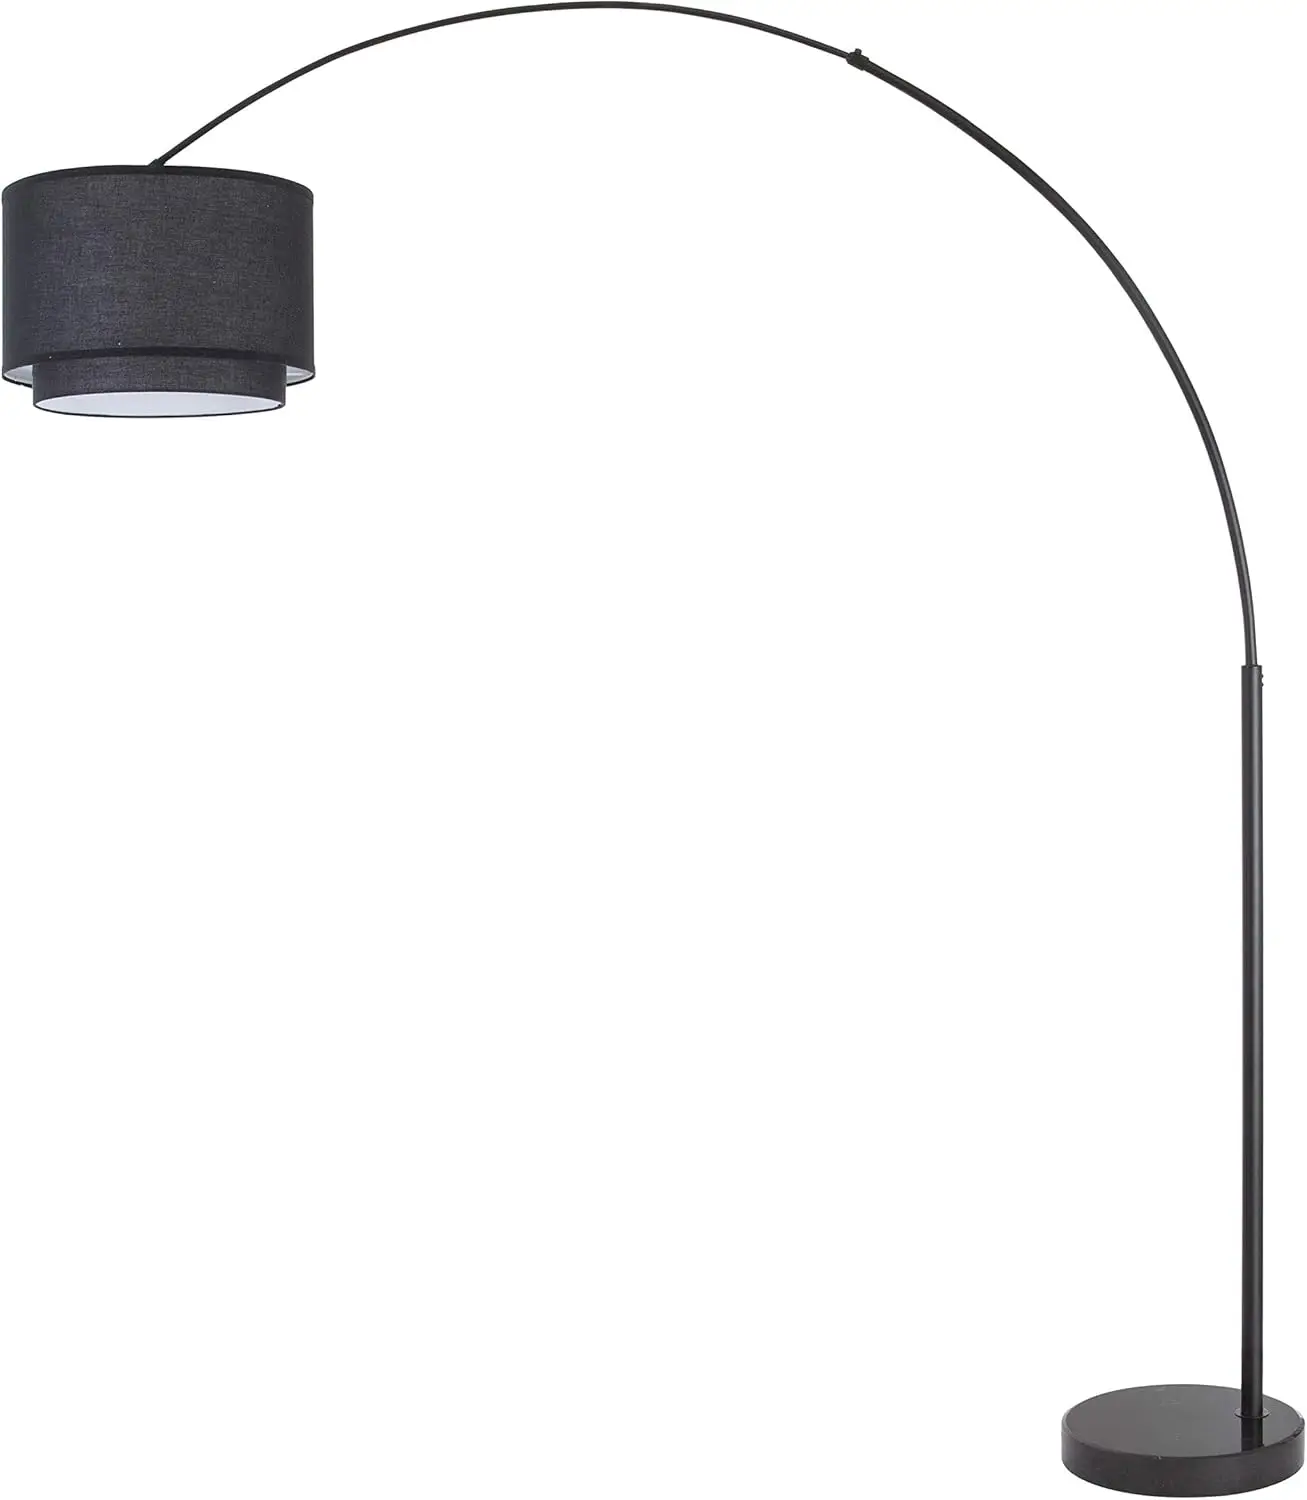
The traditional single-curve arc lamp features a heavy base with one continuous curved arm. Assembly challenges typically involve properly balancing the weight distribution and ensuring the arc maintains its elegant curve without sagging.
Modern Variants
Contemporary designs may include multiple articulation points or unconventional materials. These often require more precise alignment during assembly and may include specialized hardware.
Material Considerations
* Marble bases require careful handling to prevent chipping and often have specific attachment methods.
* Metal finishes can be scratched during assembly—use protective materials when tightening connections.
* Glass components need gentle handling and even pressure during installation.
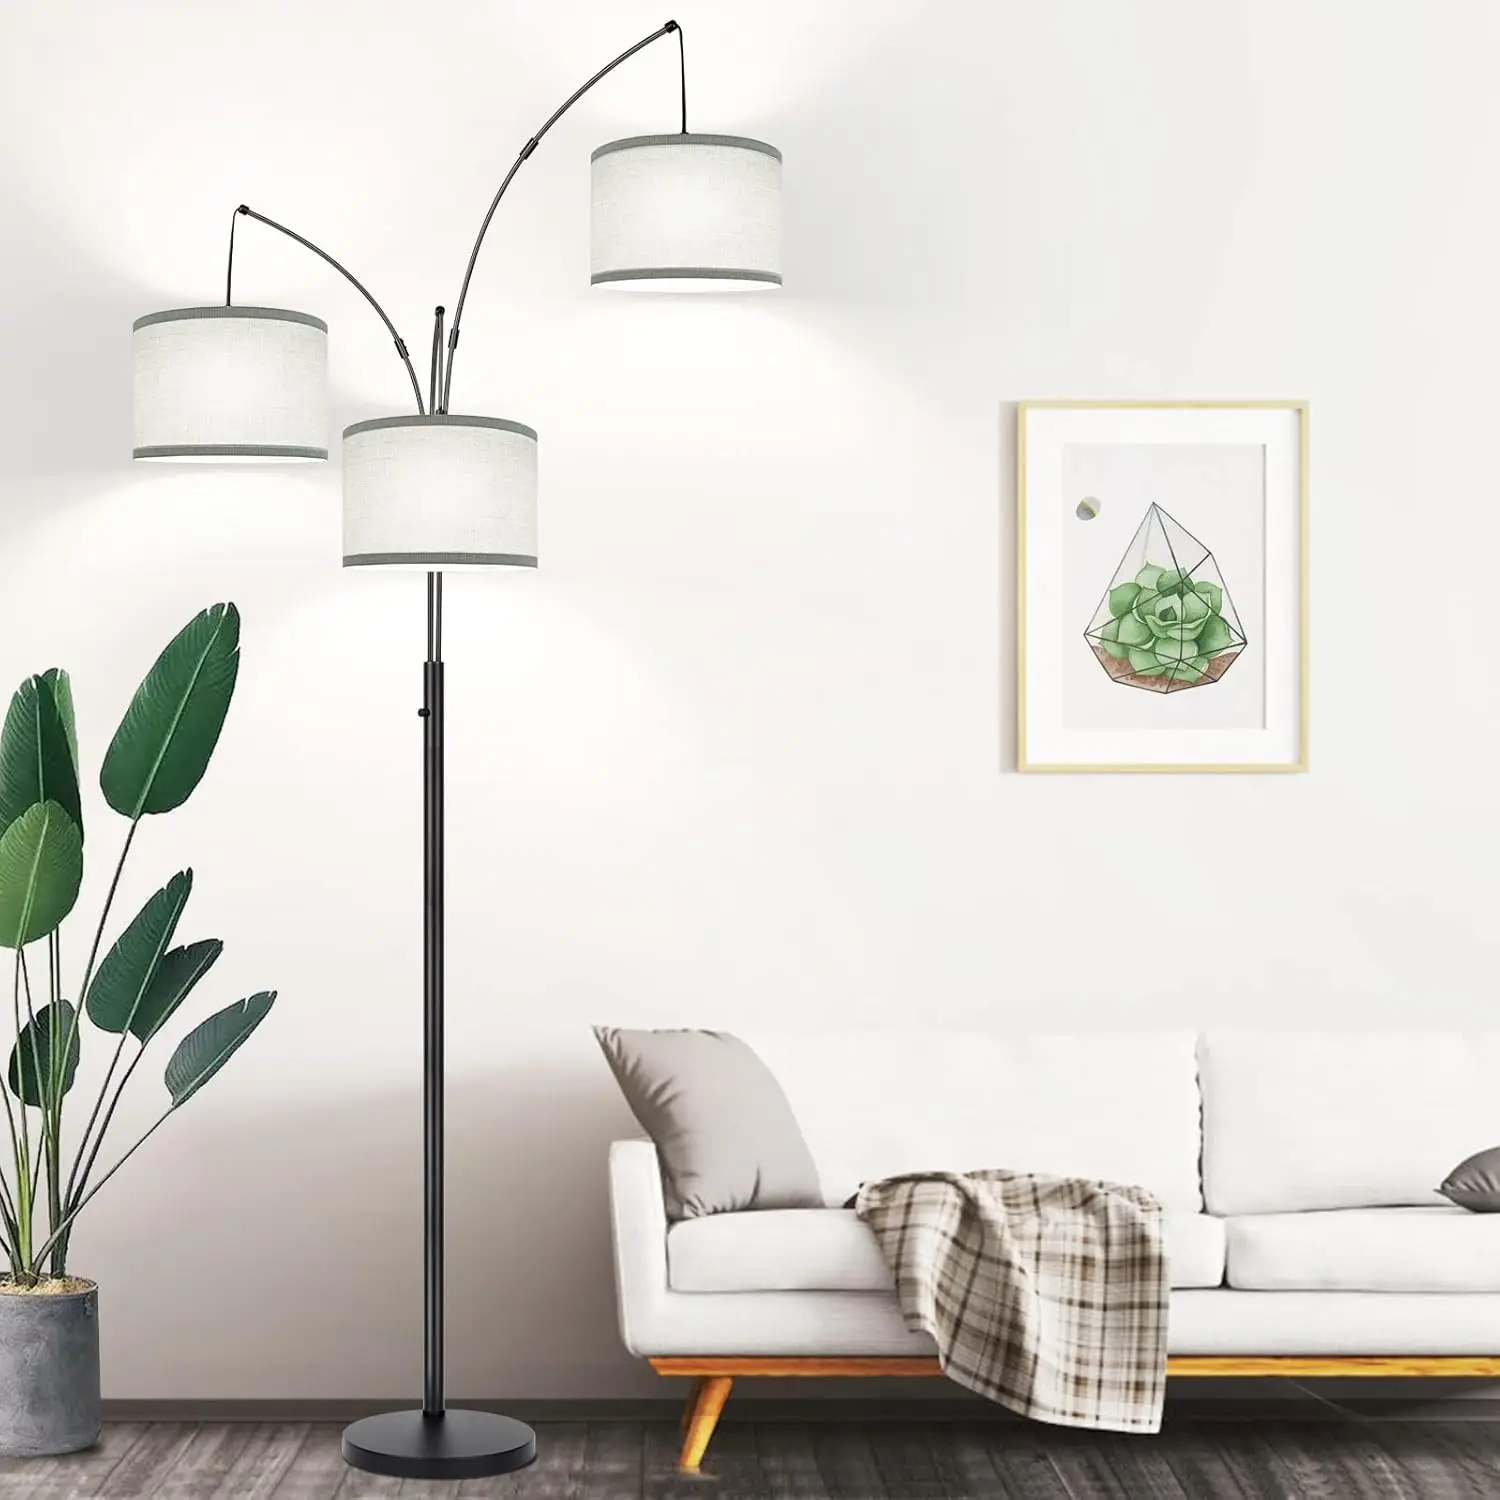
Multi-arm Designs
Lamps with multiple arms require special attention to ensure proper weight distribution and balanced appearance. Each arm typically needs individual adjustment while maintaining overall stability.
The differences between single and multi-arm arc lamps directly impact assembly complexity and the types of issues you might encounter.
Frequently Asked Questions About Arc Lamp Assembly
Q: My arc lamp wobbles even after tightening all connections. What should I check?
A: Verify your floor is level and the base is properly assembled with all weights in the correct position. Sometimes adding non-permanent adhesive furniture pads under specific areas of the base can help balance an uneven floor.
Q: How do I know if I’m using the right bulb for my arc lamp?
A: Check your lamp’s manual for specific wattage and bulb type requirements. Using incompatible bulbs can cause fixture damage, poor lighting performance, and potential safety hazards.
Q: The metal sections of my arc lamp don’t align perfectly. Is this normal?
A: Minor alignment variations are normal in some designs. However, significant misalignment could indicate incorrect assembly or damaged components. Try loosening connecting points, realigning, and retightening systematically.
Q: My dimmer function doesn’t work smoothly. What’s causing this?
A: Dimmer issues often stem from bulb incompatibility. Ensure your bulbs are labeled as dimmable and match the technology of your dimmer (LED bulbs may need LED-specific dimmers). Also check for loose wiring at the dimmer switch.
Q: How long should arc lamp assembly typically take?
A: Most arc lamps take 30-60 minutes to assemble, depending on the complexity of the design. If you’re spending significantly longer, you might be encountering an issue that requires troubleshooting or additional assistance.
For model-specific assembly guidance, the essential assembly guide for popular arc lamps provides tailored instructions for common lamp designs available at Interior Ivy.
By following this comprehensive troubleshooting guide, you’ll be well-equipped to overcome common arc lamp assembly challenges and enjoy your beautiful lighting fixture for years to come.