
Safety First: Essential Precautions Before Arc Lamp Installation
When setting up an arc lamp, safety should always be your top priority. Arc lamps operate under high pressure, emit potentially harmful UV radiation, reach extremely high temperatures, and require significant electrical power. Understanding these hazards is crucial before you even begin the installation process.
Working with arc lamps requires proper safety equipment to protect yourself from potential risks:
- Heavy-duty heat-resistant gloves to prevent burns and contamination of lamp surfaces
- Face shields to protect against unexpected lamp ruptures
- UV-blocking safety glasses to shield your eyes from harmful ultraviolet radiation
- Non-synthetic clothing that covers arms and legs fully
The consequences of improper handling can be severe. Arc lamps can contain gas pressurized up to 20 atmospheres (300 psi), creating an explosion risk if mishandled. UV radiation from these lamps can cause eye damage and skin burns within minutes of exposure. Operating temperatures often exceed 1500°F (815°C), posing immediate burn hazards.
Essential Safety Checklist:
* Disconnect all power sources before beginning any installation or maintenance
* Verify the lamp housing is properly grounded
* Ensure adequate ventilation is available for heat dissipation and ozone removal
* Allow sufficient cooling time for hot lamps before handling (typically 20+ minutes)
* Keep flammable materials away from the lamp and housing
* Handle lamps only by their ceramic or metal bases, never the quartz envelope
Understanding the perfect arc floor lamp guide provides valuable context for safely handling these sophisticated lighting fixtures. Additionally, having the right essential tools for arc lamp assembly will ensure you’re properly equipped for safe installation. For adjustable models, which have additional moving parts, reviewing safety considerations for adjustable arc floor lamps is particularly important.
Pre-Installation Checks for Successful Arc Lamp Setup
Before installing your arc lamp, several crucial checks will help prevent issues and ensure optimal performance. These preliminary steps can save you from frustration and potential damage to your lighting investment.
Compatibility Verification:
* Match lamp voltage and wattage specifications to your power supply system
* Confirm that your ballast and igniter are appropriate for your specific lamp type
* Verify that physical dimensions of the lamp fit properly in your fixture
* Check that cooling system specifications meet the lamp’s requirements
When unpacking a new arc lamp, use extreme care. Hold the lamp only by its base or ends, never touching the quartz envelope. Even microscopic amounts of skin oils can create hot spots that lead to lamp failure. Always use clean, lint-free gloves when handling lamps.
Inspect new lamps thoroughly before installation:
* Look for cracks or scratches in the quartz envelope
* Check for loose components or visible damage to electrodes
* Verify seals are intact with no signs of leakage
* Confirm pins or connectors are straight and undamaged
Environmental factors significantly impact arc lamp performance. Maintain installation area temperature between 65-80°F (18-27°C) with humidity below 70%. Ensure proper ventilation, as some arc lamps produce ozone during operation that must be safely removed.
Before powering up, verify your cooling system is functioning correctly by checking:
* Airflow is unobstructed around all vents
* Cooling fans operate properly
* Water cooling systems (if applicable) show proper flow and no leaks
* Temperature sensors are correctly positioned and functional
Making informed decisions about your arc lamp starts with choosing the perfect arc floor lamp for your specific needs. For those considering LED options, LED arc floor lamps have specific pre-installation considerations that differ from traditional arc lamps.
Issue 1: Lamp Fails to Strike or Ignite
One of the most common and frustrating problems with arc lamp setup is when the lamp simply won’t turn on. You may hear clicking sounds from the igniter attempting to start the lamp, or perhaps nothing happens at all. Understanding the potential causes can help you troubleshoot methodically.
Common Causes and Solutions:
- Electrical Connection Problems
- Check all wiring connections for looseness or corrosion
- Verify that all pins are properly seated in sockets
- Inspect for broken wires or damaged connectors
Ensure proper ground connection is established
Power Supply/Ballast Issues
- Confirm input voltage matches ballast requirements (typically within ±10%)
- Verify ballast output voltage meets lamp specifications
- Check circuit breakers and fuses
Allow sufficient warm-up time for ballast (especially with electronic ballasts)
Igniter Malfunction
- Listen for clicking sound indicating igniter operation
- Check igniter wiring connections
- Replace igniter if no spark is being generated
Verify correct igniter timing sequence
Polarity Issues
- In DC systems, confirm positive and negative connections are correct
Reversed polarity can prevent ignition or cause immediate lamp failure
Lamp Condition
- Inspect for visible signs of internal damage or end-of-life indicators
- Check for blackened ends or electrodes, suggesting the lamp needs replacement
- Verify lamp is not beyond its rated lifetime hours
Systematic Troubleshooting Approach:
- Begin with the simplest checks: power connections and switches
- Verify proper voltage at the power source using a multimeter
- Check ballast output voltage (typically 60-100V for startup)
- Test igniter functionality with appropriate equipment
- Inspect lamp for visible damage or wear
- As a last resort, try a known good replacement lamp
Improper installation can lead to numerous problems, including ignition issues. Understanding how to prevent arc lamps from tipping ensures your lamp maintains proper positioning for optimal operation. For those with dimmable arc floor lamps, be aware that these models often have specific ignition requirements that must be followed precisely.
Issue 2: Flickering or Unstable Light Output
Flickering or unstable light output from an arc lamp can be extremely distracting and indicates an underlying problem that needs addressing. This issue may manifest as rapid light fluctuations, slow pulsing, gradual dimming, or cyclical patterns of brightness changes.
Root Causes of Flickering:
- Warm-up/Cool-down Requirements
- Arc lamps need 5-15 minutes to reach stable operation
- Attempting to restart a hot lamp without sufficient cool-down time (typically 10+ minutes)
Interrupting the warm-up cycle can cause instability
Power Supply Instability
- Voltage fluctuations exceeding ±5% of rated value
- Current ripple above 5-7% causing electrode instability
- Aging power components in ballast causing irregular output
Other high-power devices on same circuit creating voltage drops
Cooling System Problems
- Insufficient airflow causing thermal cycling
- Blocked vents restricting cooling capacity
- Fan speed fluctuations creating temperature variations
Cooling system cycling on and off too frequently
Lamp Aging Indicators
- Electrode wear causing arc wandering (visible as flickering)
- Darkening of lamp envelope reducing light output
- Depletion of fill gases affecting arc stability
- Internal deposits on quartz envelope causing hot spots
Troubleshooting Methodology:
- Monitor and log the flickering pattern to identify if it’s random or cyclical
- Check for correlation with other equipment turning on/off
- Measure voltage stability at the power source during operation
- Verify all connections are tight and clean
- Inspect cooling system for proper operation
- Examine lamp for signs of aging or damage
- Try operating lamp in a different location to rule out external interference
Prevention strategies include installing power conditioning equipment, ensuring dedicated circuits for arc lamps, maintaining proper cooling, and establishing a regular lamp replacement schedule before end-of-life issues begin.
The stability of your arc lamp depends partly on its physical setup. Marble base arc floor lamps provide exceptionally stable platforms that can reduce vibration-induced flickering and maintain proper lamp positioning.
Issue 3: Overheating of Lamp or Housing
Overheating is a serious concern with arc lamps and can lead to premature failure, safety hazards, and poor performance. Recognizing the signs of overheating early can prevent costly damage and potential safety incidents.
Signs of Overheating:
* Housing too hot to touch briefly (above 140°F/60°C)
* Discoloration or yellowing of lamp housing materials
* Automatic thermal shutdown activation
* Burning smell during operation
* Visible distortion of components
Common Causes of Overheating:
- Ventilation Problems
- Blocked air intake or exhaust vents
- Dust buildup on filters restricting airflow
- Lamp installed in enclosed space without adequate clearance
Operating in ambient temperatures above recommended maximum
Cooling System Malfunctions
- Fan failure or reduced fan speed
- Clogged air filters reducing airflow
- Water cooling system leaks or blockages
Cooling system undersized for the application
Power Issues
- Operating lamp above rated wattage
- Incorrect ballast providing excess power
- Voltage spikes causing temporary overdriving
Power supply component failure
Housing Design Problems
- Insufficient heat sinks or thermal dissipation surfaces
- Reflector design concentrating heat inappropriately
- Modifications that block intended airflow paths
Step-by-Step Cooling Verification:
- Check all vents for blockages and clean as needed
- Measure airflow at exhaust (should typically be 25-100 CFM depending on lamp wattage)
- Test fan operation and speed control functionality
- Verify ambient temperature is within specified range (typically below 80°F/27°C)
- Check for proper clearance around housing (typically 12+ inches/30+ cm on all sides)
- Monitor temperature during operation with appropriate tools
For emergency situations, always have procedures in place to safely power down an overheating lamp. Never touch hot components, and allow sufficient cooling time before attempting any maintenance.
When selecting an arc floor lamp, understanding what to look for in an arc floor lamp includes proper ventilation features that prevent overheating problems before they start.
Issue 4: Shortened Lamp Life or Premature Failure
Arc lamps represent a significant investment, and premature failure can be both costly and frustrating. A lamp that fails at less than 70-80% of its rated lifespan is typically considered to have experienced premature failure.
Common Causes of Shortened Lamp Life:
- Excessive On/Off Cycling
- Each start places significant stress on lamp components
- Starting cycles should be minimized to less than 3-4 per day
Hot restarts are particularly damaging, reducing lifespan by 1-5% per occurrence
Operating Outside Electrical Specifications
- Voltage deviation more than ±10% from rated value
- Current fluctuations exceeding 7% of rated value
- Power supply ripple above manufacturer specifications
Wrong ballast type for lamp characteristics
Thermal Stress Patterns
- Insufficient warm-up time (typically needing 5-15 minutes)
- Rapid cooling by direct airflow on hot lamps
- Operation outside recommended temperature range
Inconsistent cooling causing thermal cycling
Installation-Induced Stress
- Overtightened mounting causing glass strain
- Improper orientation affecting gas distribution
- Vibration due to unstable mounting
- Uneven thermal expansion due to asymmetrical cooling
Normal vs. Premature Failure Indicators:
| Characteristic | Normal End-of-Life | Premature Failure |
|---|---|---|
| Light Output | Gradual decrease to ~70% of initial | Sudden drop or erratic output |
| Envelope Color | Slight, even darkening | Severe or localized blackening |
| Electrode Wear | Symmetrical erosion | Asymmetrical damage or breakage |
| Strike Reliability | Gradually increases start time | Frequent failure to start |
| Operating Hours | Within 20% of rated life | Less than 70% of rated life |
Lifespan-Extending Practices:
- Follow strict warm-up and cool-down protocols
- Maintain consistent operation periods (ideally 2+ hours per start)
- Ensure proper voltage and current at all times
- Keep cooling systems clean and fully functional
- Minimize vibration and mechanical stress
- Track lamp hours accurately to plan replacement before failure
For lamps with wooden components, understanding the specific care requirements of wood arc floor lamps helps prevent heat-related damage to both the lamp and its wooden elements.
Issue 5: Electrode Damage or Deformation
Electrode problems directly impact arc lamp performance and lifespan. Being able to identify electrode issues helps determine whether a lamp can continue to be used or needs replacement.
Visual Indicators of Electrode Problems:
* Mushrooming or bulbous growth on electrode tips
* Pitting or cratering of electrode surfaces
* Blackening or discoloration beyond normal aging
* Asymmetrical wear between electrodes
* Deformation or bending from original shape
Causes of Abnormal Electrode Wear:
- Current Ripple Effects
- Excessive ripple (above 5-7%) causes accelerated erosion
- Inconsistent current leads to uneven heating and material transfer
Periodic spikes create localized hot spots on electrode surfaces
Strike Impact Damage
- High-voltage ignition pulses create mechanical stress
- Excessive starts (especially when hot) accelerate deterioration
Improper igniter timing causing unnecessarily powerful strikes
Polarity-Related Issues
- In DC systems, reversed polarity causes severe electrode damage
- Incorrect AC frequency affecting material transfer rates
Unbalanced current in three-phase systems
Contamination Effects
- Impurities inside the envelope altering arc characteristics
- Oil from fingerprints creating hot spots and material migration
- Gas leakage changing internal pressure and composition
Preventative Approaches:
1. Use high-quality, stable power supplies with low ripple
2. Follow recommended warm-up procedures before full power
3. Minimize start cycles whenever possible
4. Maintain proper cooling to prevent overheating
5. Handle new lamps with clean gloves to prevent contamination
6. Store unused lamps in protective containers in clean environments
Electrode condition directly correlates with overall lamp performance. Early signs of electrode problems often manifest as difficulty starting, color shifts, reduced brightness, or increased flickering.
Issue 6: Optical Alignment Problems
Proper optical alignment ensures that your arc lamp produces the intended light distribution pattern. Misalignment can result in uneven lighting, hot spots, poor focus, or reduced efficiency.
Signs of Alignment Problems:
* Asymmetrical light distribution pattern
* Hot spots or dark areas in the beam
* Poor edge definition in focused applications
* Light spill outside intended coverage area
* Reduced overall brightness despite normal lamp operation
Common Causes of Misalignment:
- Initial Positioning Errors
- Lamp installed at incorrect angle or position
- Reflector not properly centered around arc point
- Focus mechanism improperly adjusted
Incorrect distance between optical components
Operational Movement
- Vibration loosening mounting hardware
- Thermal expansion shifting components
- Base or support structure settling or tilting
Impact or accidental bumping
Component Issues
- Warped reflectors from overheating
- Deteriorated adjustment mechanisms
- Damaged lens surfaces affecting light transmission
- Mismatched components after replacement
Alignment Verification Process:
1. Check all mounting hardware for tightness
2. Verify lamp is seated correctly in its holders
3. Ensure lamp is positioned at manufacturer’s specified distance from reflector
4. Confirm reflector is clean and undamaged
5. Test light distribution pattern on neutral surface
6. Make incremental adjustments following manufacturer guidelines
The light distribution quality of your arc lamp depends significantly on its features. Understanding top arc lamp features when buying helps you select models with better alignment stability and adjustment capabilities.
Preventative Maintenance for Extended Arc Lamp Lifespan
A consistent maintenance routine significantly extends arc lamp life and maintains optimal performance. Establishing regular checks and cleaning procedures prevents many common problems before they develop.
Essential Maintenance Schedule:
| Frequency | Maintenance Task |
|---|---|
| Before Each Use | Visual inspection of lamp and connections |
| Weekly | Clean exterior housing and air intake vents |
| Monthly | Inspect and clean filters, check cooling system |
| Quarterly | Full inspection of electrical connections |
| 500 Hours | Reflector cleaning, component inspection |
| Per Manufacturer | Lamp replacement (typically 1,000-2,000 hours) |
Housing and Filter Maintenance:
* Clean external surfaces with lint-free cloth
* Remove dust from vents using soft brush or vacuum
* Wash or replace air filters according to manufacturer guidelines
* Check for and repair any damage to housing structure
Operating Best Practices:
* Allow full warm-up time before critical use (typically 5-15 minutes)
* Minimize on/off cycles by planning usage periods
* Cool down completely before restarting (typically 10+ minutes)
* Maintain consistent operating position as specified by manufacturer
Tracking System:
* Record lamp installation date
* Log operating hours accurately
* Document maintenance activities
* Note any performance changes or issues
* Schedule replacement before end-of-life to prevent inconvenient failures
Maintaining optimal environmental conditions greatly extends lamp life:
* Keep ambient temperature between 65-80°F (18-27°C)
* Maintain humidity below 70%
* Prevent direct sunlight on lamp housing
* Minimize vibration and mechanical shocks
The complete arc floor lamp guide provides comprehensive maintenance information for different lamp types. Additionally, understanding how to secure tall floor lamps prevents accidents that could damage your lighting investment.

Contemporary Arc Floor Lamp, Large Arc Floor Lamp, Oversized Arched Floor Lamp
$460.63 Select options This product has multiple variants. The options may be chosen on the product page

Adjustable Arc Floor Lamp, Bronze Arc Floor Lamp
Price range: $440.95 through $558.52 Select options This product has multiple variants. The options may be chosen on the product page
Brass Arc Floor Lamp, Contemporary Arc Floor Lamp, LED Arc Floor Lamp
Price range: $490.72 through $522.04 Select options This product has multiple variants. The options may be chosen on the product page

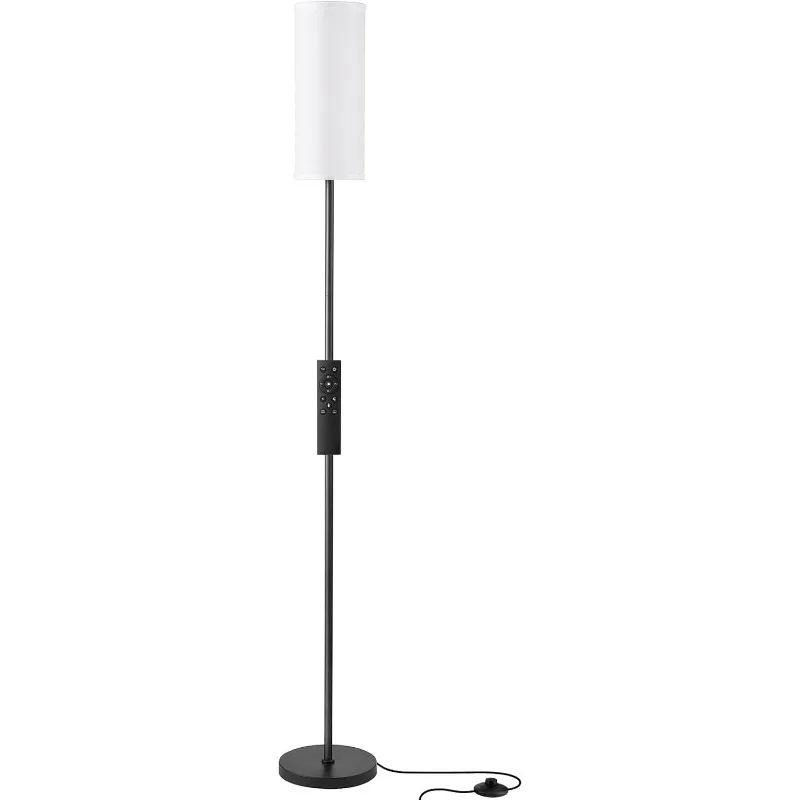
Chrome Arc Floor Lamp, LED Arc Floor Lamp
Price range: $304.95 through $1,210.40 Select options This product has multiple variants. The options may be chosen on the product page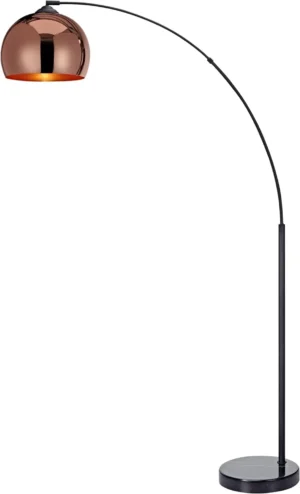

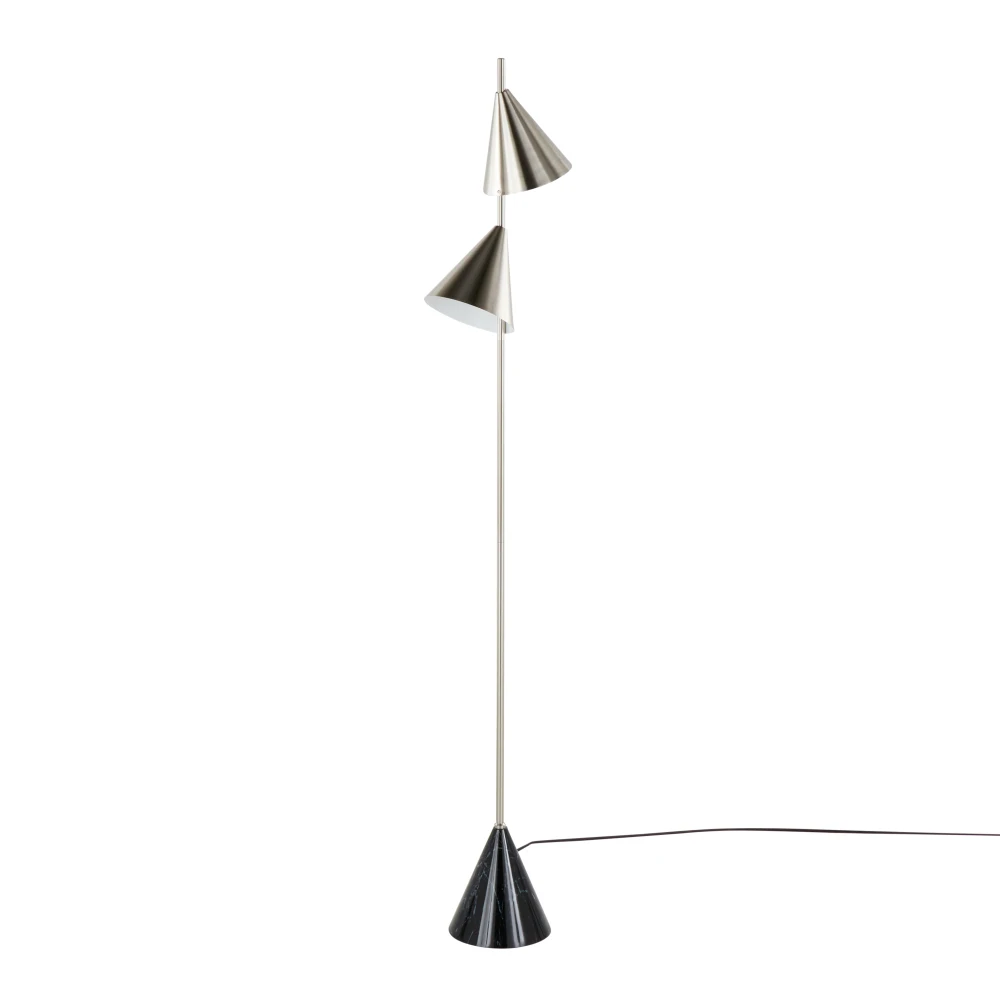
Contemporary Arc Floor Lamp, Large Arc Floor Lamp, Marble Base Arc Floor Lamp
$224.94 Select options This product has multiple variants. The options may be chosen on the product page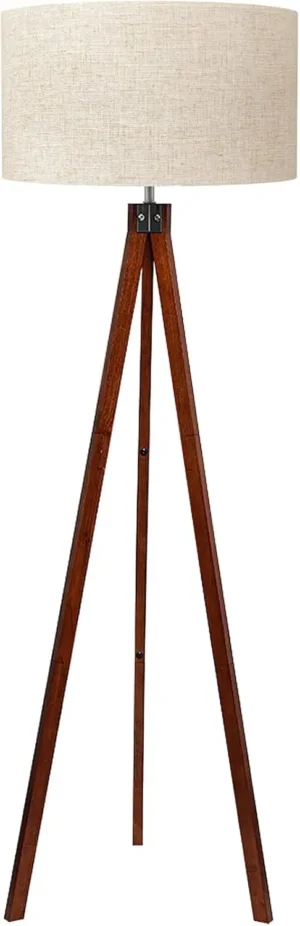

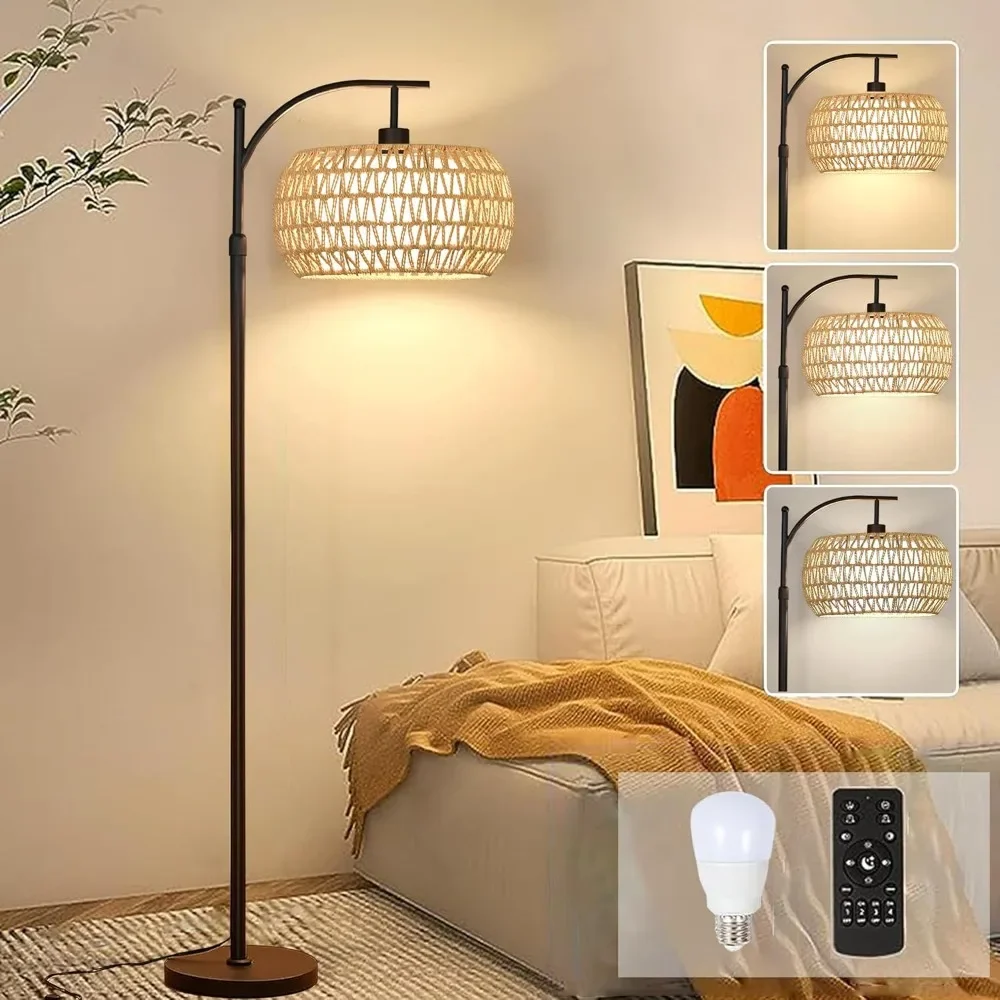
Mid-Century Arc Floor Lamp, Wood Arc Floor Lamp
$230.86 Select options This product has multiple variants. The options may be chosen on the product page
When to Seek Professional Assistance
While many arc lamp issues can be resolved through careful troubleshooting, some situations require professional expertise. Knowing when to call in a specialist can prevent safety hazards and more costly repairs.
Situations Requiring Professional Help:
* Electrical failures beyond basic connection issues
* Persistent flickering that doesn’t respond to troubleshooting
* Unusual noises during operation (buzzing, popping)
* Signs of internal ballast failure
* Repeated lamp failures despite following proper procedures
* Any signs of electrical arcing outside the lamp itself
* Water or moisture infiltration into electrical components
Professional diagnostic equipment often includes specialized tools unavailable to most users, such as:
* Power quality analyzers that measure precise electrical characteristics
* Spectroradiometers for light output measurement
* High-voltage testers for ignition system assessment
* Thermal imaging cameras to identify hot spots
When contacting professional assistance, prepare:
* Complete history of the issue
* Lamp and ballast model numbers
* Approximate hours of operation
* Documentation of troubleshooting steps already taken
* Any error codes displayed by electronic systems
At Interior Ivy, our customer service team can help direct you to qualified technicians familiar with our contemporary arc floor lamp collection when issues exceed standard troubleshooting.
Environmental Considerations and Safe Disposal of Arc Lamps
Arc lamps require responsible disposal due to their potentially hazardous materials. Understanding proper handling and disposal methods protects both people and the environment.
Common Hazardous Materials in Arc Lamps:
* Mercury in medium and high-pressure mercury lamps
* Sodium in high-pressure sodium lamps
* Metal halide compounds in metal halide lamps
* Xenon under high pressure in xenon arc lamps
* Lead in certain lamp bases or solder connections
Improper disposal can lead to:
* Release of toxic materials into soil and water
* Mercury vapor exposure to waste handlers
* Environmental contamination requiring costly cleanup
* Legal penalties for regulatory violations
* Unnecessary landfill waste of recyclable materials
Proper Disposal Guidelines:
* Never dispose of arc lamps in regular trash
* Store failed lamps in original packaging or protective containers
* Avoid breaking lamps, which can release harmful substances
* Use certified recycling programs that handle hazardous components
* Contact local waste management for specific regional requirements
* Keep disposal receipts for regulatory compliance
Safe Handling for Disposal:
* Allow lamp to fully cool before handling
* Wear gloves to prevent cuts from broken glass
* Use eye protection during handling
* Place in crush-resistant container labeled as containing hazardous materials
* Seal container to prevent fragments or dust escape if breakage occurs
By following proper installation, maintenance, and disposal procedures, you’ll ensure both optimal performance from your arc lamp and responsible environmental stewardship.