
Welcome to Your New Arc Floor Lamp: Essential Assembly Preparation
Congratulations on your new arc floor lamp! This elegant lighting solution will soon become a stunning focal point in your home. Before diving into assembly, taking a few minutes to prepare will make the process smoother and more enjoyable.
We strongly recommend having a friend or family member assist you with assembly. Arc floor lamps typically weigh between 15-25 pounds, and having an extra pair of hands ensures safety and precision during setup. Most customers complete assembly in 30-45 minutes, and the process is straightforward with the right preparation.
For your workspace, choose:
– A clean, flat surface with at least 5×5 feet of open space
– Good lighting so you can see small parts and instructions
– A space free from children and pets during assembly
– A soft blanket or towel to protect both the lamp components and your floor
Taking these initial steps will set you up for success as you transform individual components into a beautiful, functional lamp. If you’re still in the research phase and haven’t purchased your lamp yet, exploring different choosing perfect arc floor lamp options can help you find the ideal style for your space.
Before You Begin: Complete Parts and Tools Inventory
Proper inventory management is crucial before starting assembly. Begin by carefully removing all packaging materials, paying special attention to small parts that might be wrapped separately or secured with tape inside larger components.
Lay out all pieces and compare them to the parts list included with your lamp. Typical arc floor lamp components include:
- Base plate (often made of marble, metal, or weighted material)
- Main pole sections (usually 2-4 segments that connect together)
- Arc component (the curved section that extends outward)
- Lampshade and attachment hardware
- Light socket assembly with wiring
- Screws, bolts, washers, and small connectors
- Finials or decorative elements
Next, gather the required tools:
– Allen wrench/hex key (often included)
– Phillips or flathead screwdriver (depending on your model)
– Adjustable wrench for tightening connections
– Soft cloth for handling delicate components
Pro tip: Take a quick photo of all components laid out before assembly. This visual reference can be invaluable if you need to troubleshoot or identify specific parts later. If your lamp features special mechanisms, understanding how adjustable arc floor lamp designs work will help during assembly.
Critical Safety Guidelines for Arc Lamp Assembly
Safety should be your top priority throughout the assembly process. Following these guidelines will protect both you and your new lamp:
• Always assemble and adjust your lamp when unplugged from power sources
• Never force components together – if parts aren’t fitting easily, double-check alignment
• Be mindful of the lamp’s weight distribution to prevent tipping
• Handle glass components with extreme care, using provided protective wrapping when possible
• Keep small parts away from children and pets during assembly
• Verify that your electrical outlet can handle the lamp’s power requirements
• Use only bulbs that match or are below the maximum wattage specified for your lamp
• Note that many arc lamps include polarized plugs (one blade wider than the other) for safety
Pay special attention to the base assembly, as this provides the foundation for your lamp’s stability. Understanding how to properly stabilize arc floor lamp base techniques can prevent accidents and ensure long-term safety once your lamp is fully assembled.
Phase 1: Securing the Lamp Base and Lower Pole
The foundation of your arc floor lamp is its base and lower pole connection. This critical first step determines the stability of your entire lamp.
Place the base on a flat surface with the threaded connection point facing upward. If your base has multiple parts that need assembly first, connect those according to the included manufacturer instructions.
Locate the bottom pole section (usually the thickest pole with threading on one end) and align it with the threaded connection on the base.
Begin hand-tightening the pole into the base by turning clockwise. Make sure the threads catch properly to avoid cross-threading, which can permanently damage the connection.
Once hand-tight, use the provided tools (typically an Allen wrench or T-bar) to fully secure the connection. Tighten until firm but avoid over-tightening, which can strip the threads.
For bases with multiple securing points, follow a star pattern when tightening screws or bolts (similar to tightening lug nuts on a car wheel) to ensure even pressure distribution.
After tightening, test the base stability by gently rocking the pole. If you notice any wobbling, double-check that all connections are properly secured.
If your lamp features a heavier decorative base, such as those in our marble base arc floor lamp collection, take extra care during this phase as these bases require proper alignment to support the lamp’s weight effectively.
Phase 2: Assembling and Connecting the Arc Pole Sections
With the base secured, it’s time to build the vertical structure of your lamp by connecting the pole sections:
Identify all pole sections and arrange them in order from bottom to top (typically thickest to thinnest). Most arc lamps have 2-4 sections that connect sequentially.
Locate the internal electrical cord and ensure it runs through each pole section properly. Never pull forcefully on the cord during assembly.
Connect the second pole section to the base-connected lower pole. Most designs use one of these connection methods:
– Threaded connections that twist together
– Push-and-lock mechanisms that click into place
– Sections secured with set screws or pinsTighten the connection according to the manufacturer’s instructions. For threaded connections, turn clockwise until secure but not overly tight.
Continue adding subsequent pole sections one at a time, ensuring each connection is secure before proceeding to the next.
When attaching the arc section (the curved top portion), pay special attention to orientation. The arc should extend in the intended direction, usually with the lamp head pointing downward.
Verify that the electrical cord extends through all sections without pinching or tension.
Throughout this process, maintain proper alignment of all sections. Even slight misalignments can affect the lamp’s appearance and stability. Understanding the importance of perfect arc floor lamp height can help you assemble the sections in proper proportion.
Phase 3: Installing and Positioning the Lampshade
The lampshade installation is where your arc floor lamp begins to take shape aesthetically:
Identify the shade mounting hardware included with your lamp. Common attachment types include:
– Socket rings that screw onto the light socket
– Spider fittings that attach to a harp structure
– Clip-on attachments that secure directly to the bulb
– Uno fittings that thread onto the socket before the bulb is installedIf your lampshade is packaged separately from its frame, carefully attach the shade to its frame according to the included instructions.
Position the shade over the socket assembly, aligning any mounting hardware properly.
Secure the shade using the appropriate mechanism for your lamp design. Hand-tighten any fasteners, being careful not to overtighten which could damage the shade or socket.
Once attached, adjust the shade’s position so it sits level and properly centered over the light source.
If your shade has a decorative finial (the ornamental piece that screws on top of the harp), attach it last to complete the shade assembly.
For lamps with simpler assembly processes, our collection of easy assemble arc floor lamps provides additional guidance specific to quick-assembly models.
Phase 4: Electrical Connections and Functional Testing
Now that your lamp structure is assembled, it’s time to complete the electrical connections and test functionality:
Select the appropriate light bulb for your lamp, observing the maximum wattage recommendation (typically listed on a sticker near the socket). Many modern arc lamps work best with:
– LED bulbs for energy efficiency and cooler operation
– Medium base (E26) bulbs, the standard size for most lamps
– Bulbs matching the color temperature suggested for your lampWith the lamp unplugged, install the bulb by gently screwing it clockwise into the socket until secure but not overly tight.
Route the power cord along the lamp pole, using any included clips or guides to keep it neatly positioned. For safety and aesthetics, avoid letting the cord dangle loosely.
Place the lamp in its intended position, ensuring the base sits flat and stable.
Connect the plug to a wall outlet, observing any polarization requirements (wider prong aligns with wider slot).
Test the lamp’s operation by using the included switch mechanism, which may be:
– An in-line cord switch
– A foot switch near the base
– A socket switch near the bulb
– A touch-sensitive control
If you’re using LED technology, our LED arc floor lamp models have specific features that maximize efficiency and light quality.
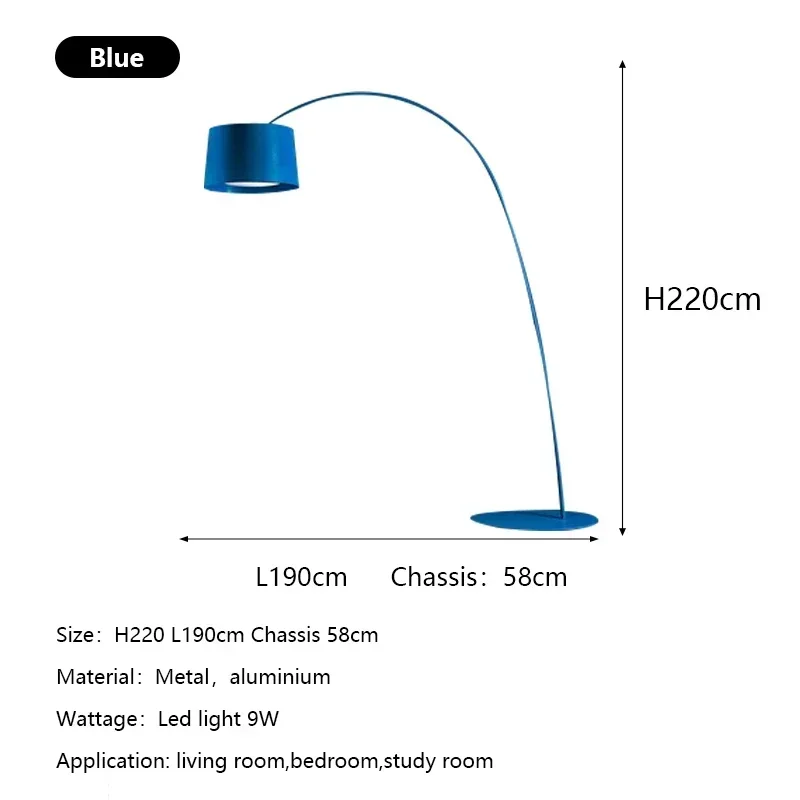
Advanced Features: Adjusting Height, Reach, and Direction
Many arc floor lamps include adjustable features that allow you to customize the lighting experience for your space:
• Height Adjustment: Some models feature telescoping poles that can be extended or shortened by loosening collar locks or set screws, then retightening at your desired height.
• Reach Adjustment: The arc component may include mechanisms to extend or retract the horizontal reach, often controlled by knobs or levers integrated into the design.
• Direction Control: Most arc lamps allow you to change the light direction by:
– Rotating the entire lamp at the base
– Adjusting the angle of the shade
– Swiveling the lamp head on multi-directional models
• Balance Considerations: When making adjustments, always be mindful of how changes affect the lamp’s center of gravity. Extending the arc too far without proper counterbalance can create instability.
For optimal placement and direction, understanding what look arc floor lamp can help you position your newly assembled piece for both function and visual appeal.

Contemporary Arc Floor Lamp, Large Arc Floor Lamp, Oversized Arched Floor Lamp
$460.63 Select options This product has multiple variants. The options may be chosen on the product page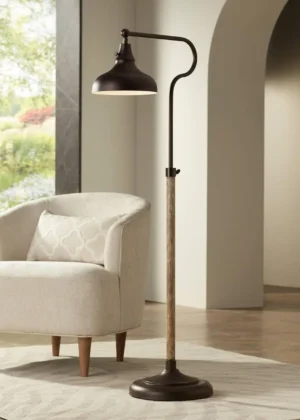

Adjustable Arc Floor Lamp, Bronze Arc Floor Lamp
Price range: $440.95 through $558.52 Select options This product has multiple variants. The options may be chosen on the product page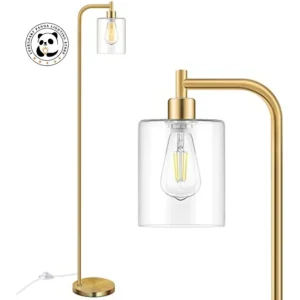
Brass Arc Floor Lamp, Contemporary Arc Floor Lamp, LED Arc Floor Lamp
Price range: $490.72 through $522.04 Select options This product has multiple variants. The options may be chosen on the product page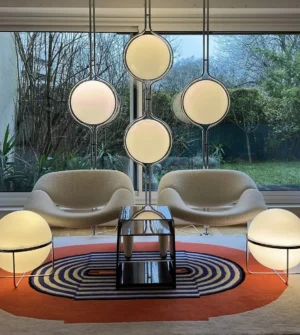

Chrome Arc Floor Lamp, LED Arc Floor Lamp
Price range: $304.95 through $1,210.40 Select options This product has multiple variants. The options may be chosen on the product page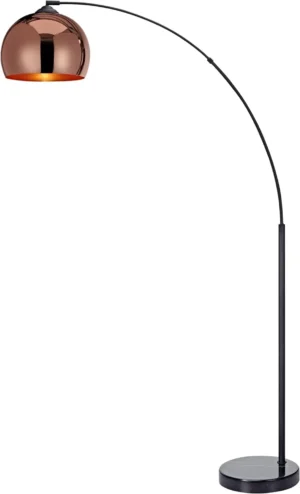

Contemporary Arc Floor Lamp, Large Arc Floor Lamp, Marble Base Arc Floor Lamp
$224.94 Select options This product has multiple variants. The options may be chosen on the product page
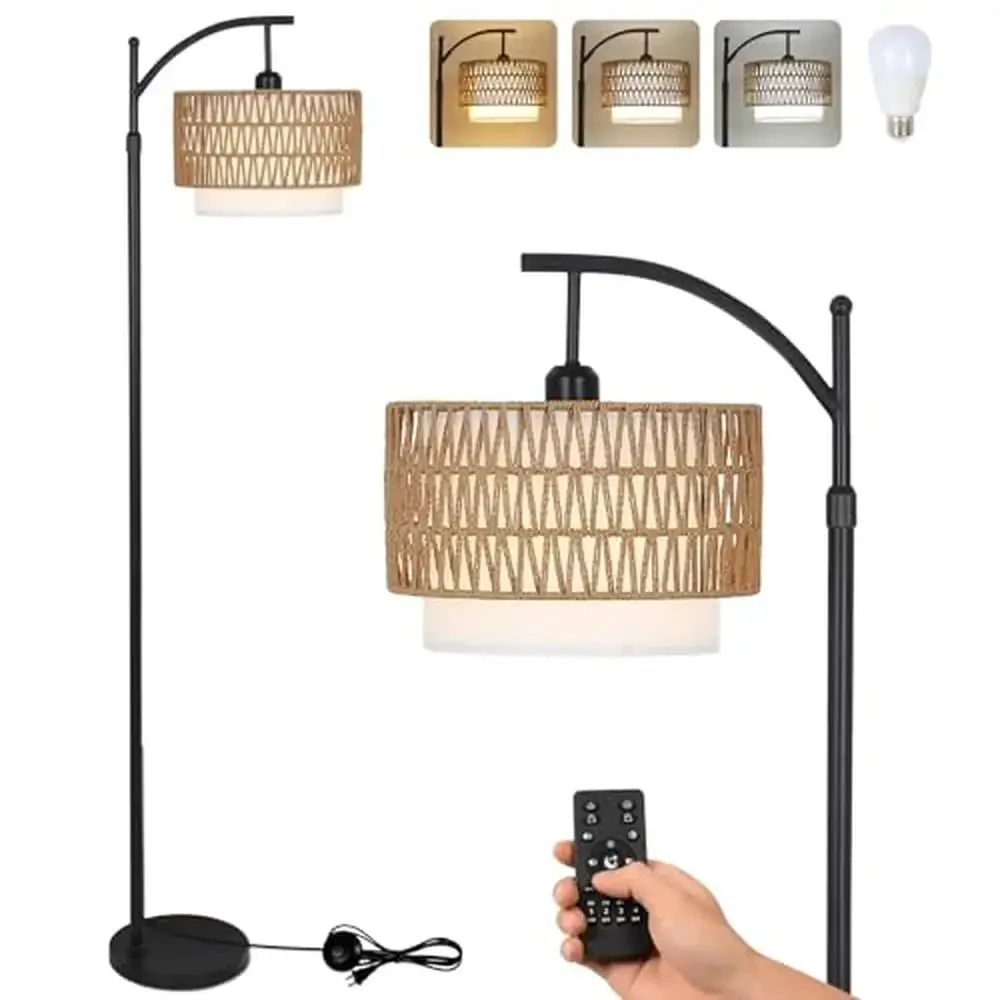
LED Arc Floor Lamp, Rattan Arc Floor Lamp
$313.58 Select options This product has multiple variants. The options may be chosen on the product page
Troubleshooting Common Arc Floor Lamp Assembly Challenges
Even with careful assembly, you might encounter some challenges with your new lamp. Here’s how to address common issues:
Wobbling or Leaning Lamp
If your lamp seems unstable, check that the base is on a completely flat surface. Carpet or uneven flooring can cause leaning. Verify that all pole connections are fully tightened, and consider adding furniture levelers under the base if your floor is slightly uneven.
Flickering Light
Flickering typically indicates a loose bulb or connection. With the lamp unplugged, check that the bulb is securely screwed into the socket. Also inspect the cord for any damage and ensure all wiring connections are tight and proper.
Misaligned Components
If sections don’t align properly, avoid forcing them together. Disassemble back to the problematic connection, check for debris or damaged threads, and realign carefully. Sometimes slightly rotating components while connecting helps them seat properly.
Shade Installation Difficulties
If the lampshade won’t attach correctly, verify you’re using the right attachment method for your lamp model. Some shades require adapters or specific fitters that may have been packaged separately.
Stripped Threads
If threads become stripped during assembly, avoid continuing to force components together. Contact customer support for replacement parts rather than attempting to repair stripped threads, which rarely results in stable connections.
Our black arc floor lamp collection includes detailed model-specific troubleshooting guides for some of our most popular designs.
Essential Maintenance for Long-Term Lamp Performance
To keep your arc floor lamp functioning beautifully for years to come, implement these simple maintenance practices:
Regular cleaning prevents dust buildup that can affect both appearance and light quality. Use a soft, dry microfiber cloth for metal components and lamp bases. For lampshades, a gentle dusting with a soft brush attachment on a vacuum cleaner works well. Glass elements should be cleaned with a non-ammonia glass cleaner and lint-free cloth.
Monthly stability checks help identify loose connections before they become problems. Gently test all major connection points and tighten as needed. Pay special attention to the base-to-pole connection, which bears the most weight.
Electrical maintenance includes inspecting cords for wear, ensuring switches operate smoothly, and checking that bulb connections remain secure. Replace bulbs promptly when they burn out to prevent socket damage from repeated attempts to use a failed bulb.
For those concerned about cord appearance, exploring how hide arc floor lamp cords provides creative solutions that maintain both safety and aesthetics.
Can I Disassemble My Arc Floor Lamp for Moving or Storage?
Yes, arc floor lamps can typically be disassembled for moving or storage by reversing the assembly process. This makes them surprisingly portable despite their impressive size when assembled.
To disassemble properly:
Unplug the lamp and remove the light bulb, storing it separately in padded material.
Remove the lampshade and wrap it in bubble wrap or a soft blanket to prevent damage.
Disconnect the pole sections in reverse order (top to bottom), being careful not to damage the internal electrical cord.
Coil the electrical cord loosely to prevent kinks or damage to the wiring.
If possible, use the original packaging to store components. If unavailable, wrap each piece individually in moving blankets or bubble wrap.
Store all small parts (screws, finials, etc.) in labeled plastic bags taped to their corresponding larger components.
When you’re ready to reassemble, simply follow the original assembly instructions. Owners of large arc floor lamp models may find disassembly particularly useful when relocating, as these statement pieces require special handling during moves.
Is My Arc Floor Lamp Compatible with Smart Home Systems?
Many traditional arc floor lamps can be integrated into smart home systems with minimal modification. The simplest approach is using a smart plug between your lamp and wall outlet, instantly adding scheduling and remote control capabilities.
For more advanced functionality, consider replacing standard bulbs with smart bulbs that fit your lamp’s socket type and stay within recommended wattage limits. These allow for dimming, color temperature adjustments, and voice control when paired with systems like Alexa, Google Home, or Apple HomeKit.
Important compatibility considerations include:
– Ensuring smart bulbs physically fit within your lampshade
– Verifying that dimming features work with your lamp’s existing wiring
– Checking that added smart components don’t exceed weight limits for the lamp head
For a broader understanding of arc lamp capabilities and features, our complete arc floor lamp guide covers everything from smart compatibility to design evolution.
What Are the Best Lighting Arrangements for Different Room Types?
Strategic placement of your newly assembled arc floor lamp can dramatically enhance your space:
In living rooms, position your arc lamp 20-30 inches from seating areas, with the light directed toward activities like reading or conversation areas. The sweeping arc design works beautifully behind sofas or beside reading chairs, providing both ambient and task lighting.
For bedrooms, consider placing your arc lamp in a corner, with the head extended over a bedside table or reading nook. This arrangement saves valuable surface space while still providing targeted illumination.
Home offices benefit from arc lamps positioned to eliminate computer screen glare while illuminating work surfaces. Try placing the lamp opposite your dominant hand to prevent shadows while writing or working.
Dining spaces come alive with an arc lamp positioned to cascade light over the table center. For optimal effect, install the lamp so the lowest point of the shade hangs approximately 30-36 inches above the table surface.
For inspiration specific to common gathering spaces, exploring best arc lamps living rooms can help you create the perfect lighting environment once assembly is complete.
Interior Ivy offers a variety of arc floor lamp designs to suit any décor style, from sleek modern options to classic designs with traditional elements. With proper assembly and placement, your new lamp will provide both beautiful illumination and striking visual interest for years to come.